Prometheus Label Bookmarklet
One of the most recent projects I’ve been involved with at work has been the exploration of Prometheus as a metrics and monitoring tool. I expect as I spend more time with the tooling I’ll probably be writing more posts, mostly in the “TIL” vain.
Today, however, is not one of those posts. Instead, I wanted to show off a few lines of code I put together which I’ve found pretty useful when setting up our scrape configs. Fair warning, I’m not a front end developer, so brace yourselves while I introduce you to the hammer I used to solve this problem.
Prometheus' target page allows you to see all labels associated with the metrics you scrape before and after relabelling, seeing the “before” labels is actually quite useful as it can help:
- Make sense of where exactly the metrics are coming from
- Dictate the configuration of scrape configurations
- Direct how relabel configurations are set up
- Ensure consistency between scrape configurations and queries
However there is one glaring omission with the targets page, the “before” labels are only visible on mouseover. This makes it:
- Impossible to copy and paste “before” labels if you wish to discuss them
- Very difficult to view the entire list of “before” labels when it spans below the fold
- So that comparison between “before” and “after” labels is a test of patience
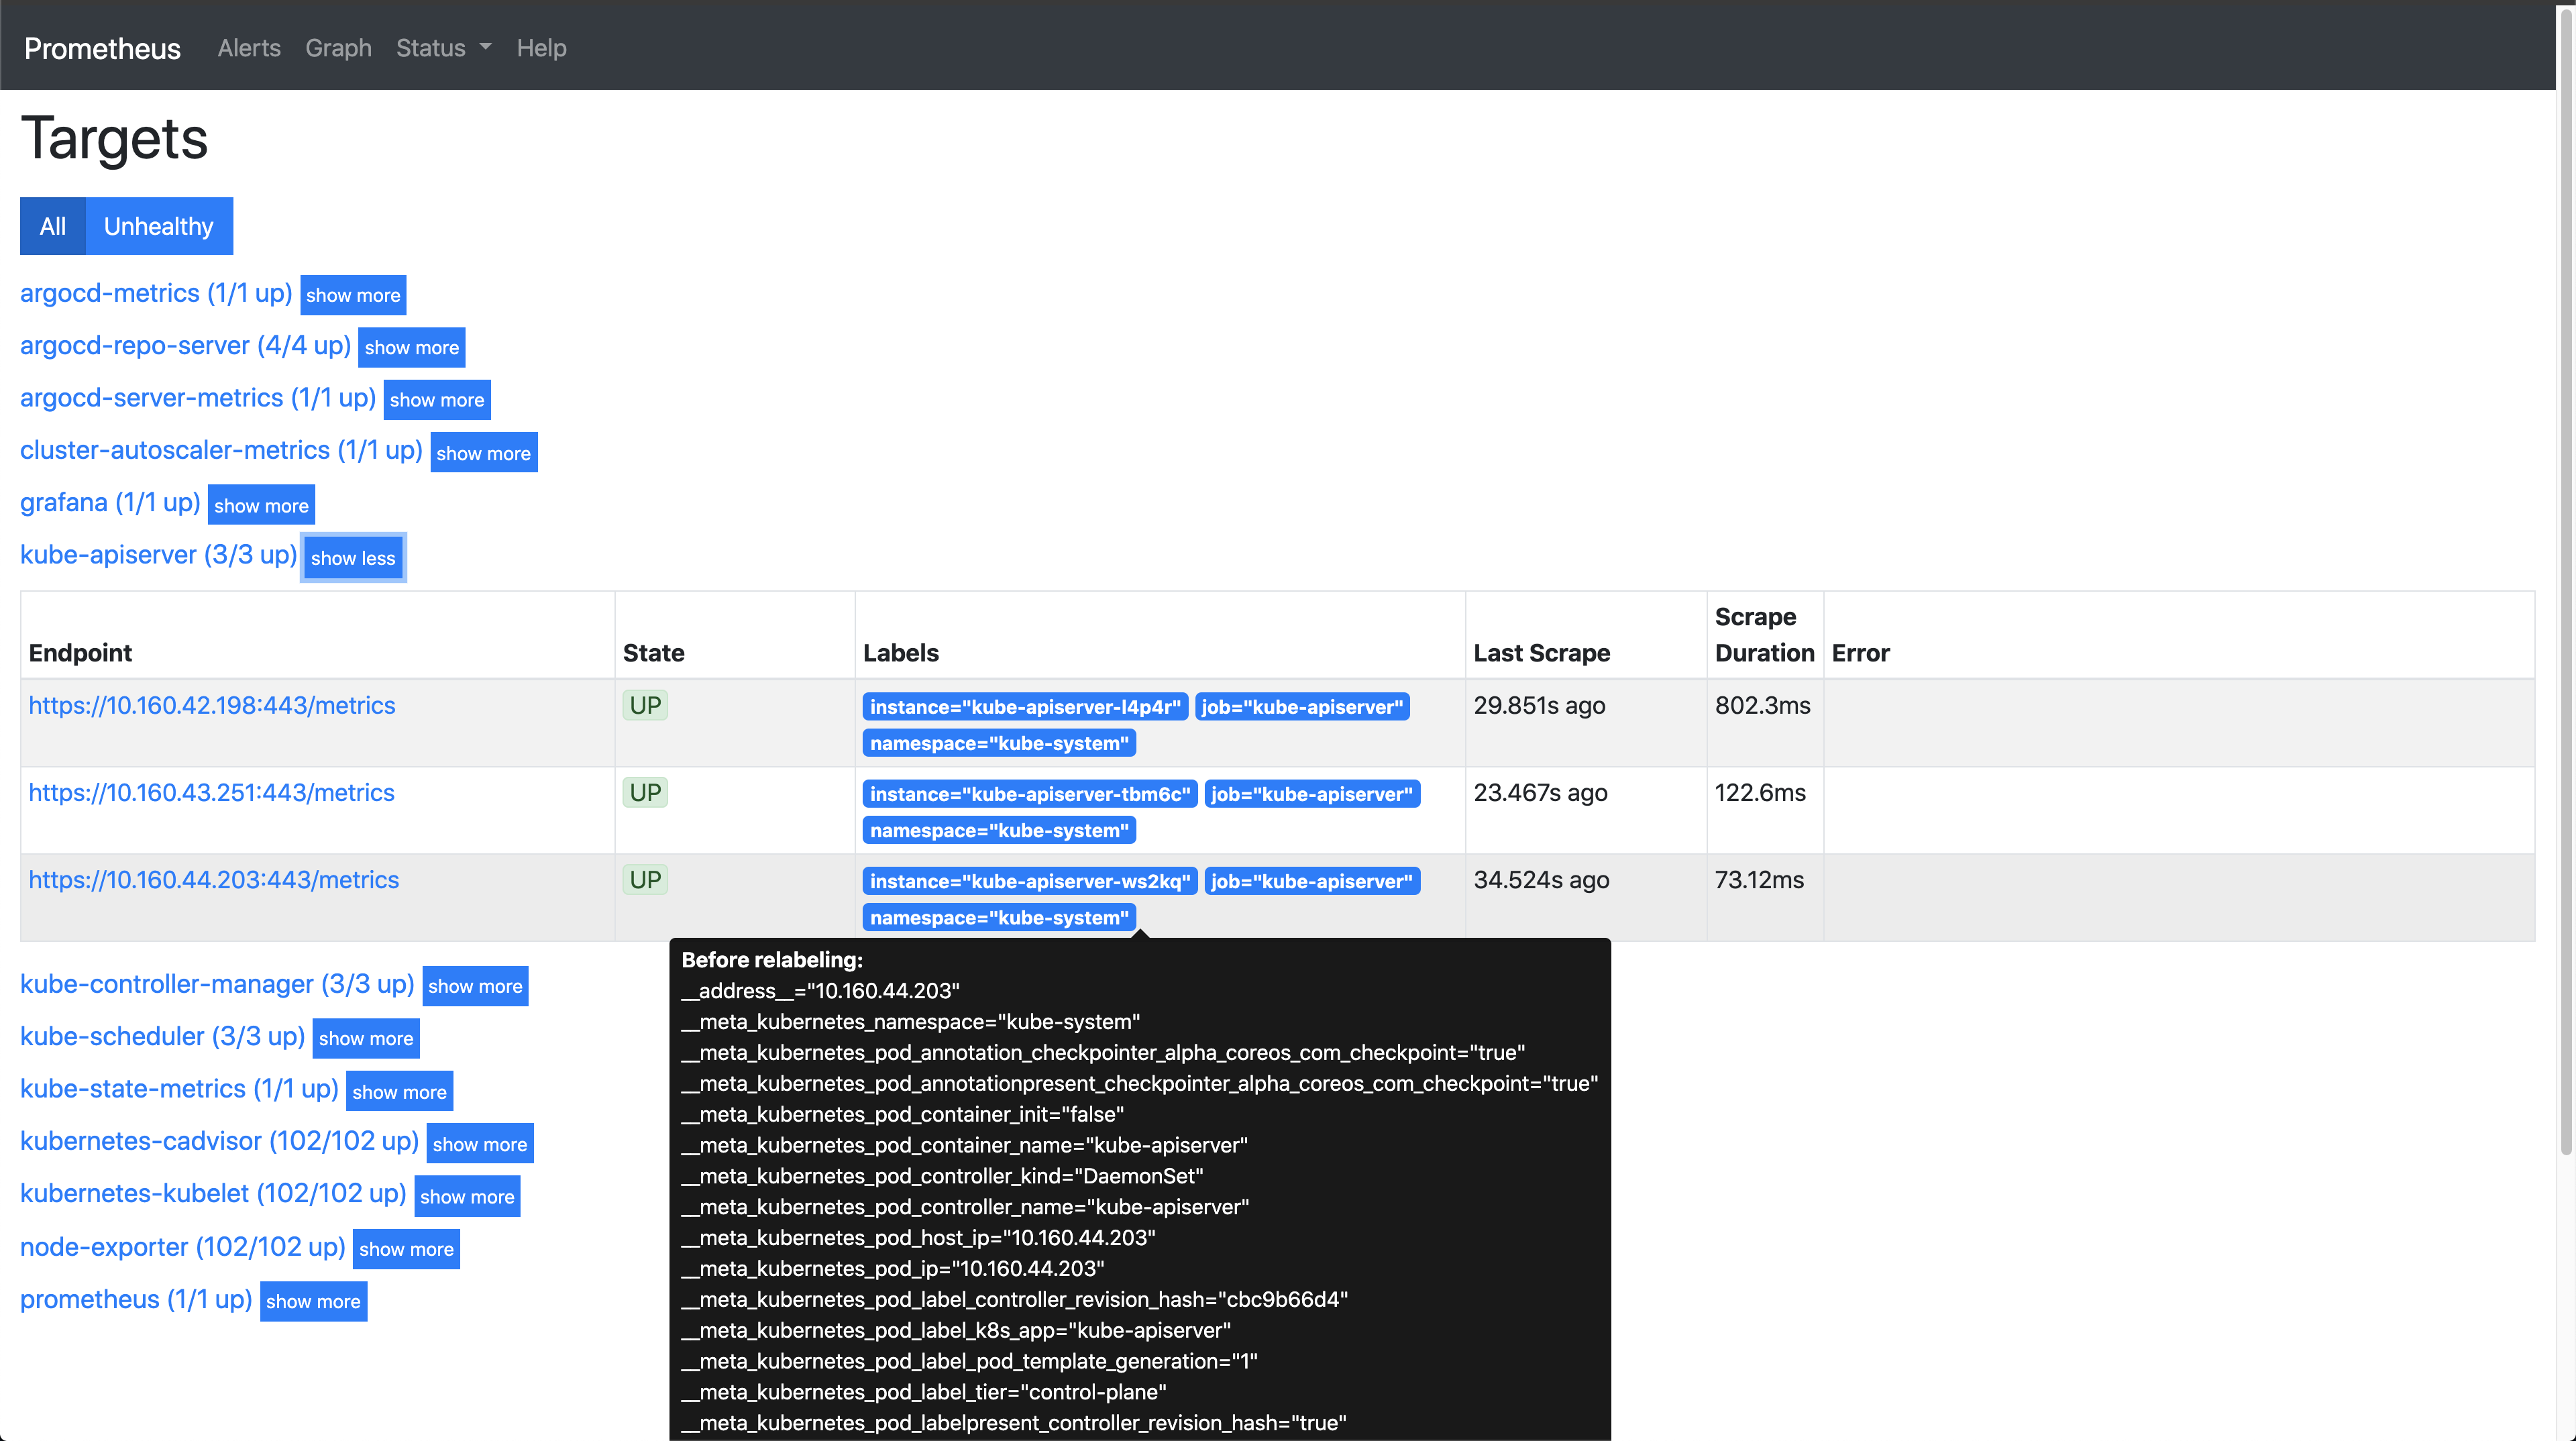
I wrote a small bookmarklet, which you can activate when on your Prometheus targets page which will allow you to now click on a label to show the “before” labels as a popover rather than a tooltip. The end result looks something like this

Compared to the default tooltip action, the popover remains even after your mouse moves away from the labels, which means you can now copy and paste, view labels side by side, dock your screen etc… without losing the “before” labels.
Simply create a new bookmark in your browser and replace the URL field with
|
|
It should look something like this
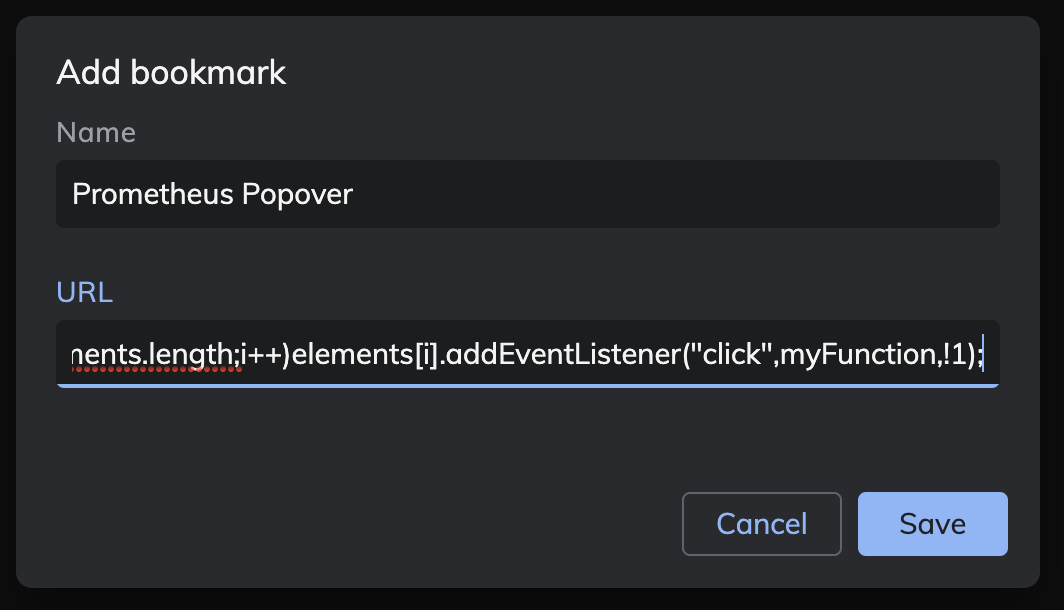
Whenever you wish to make use of popovers rather than tooltips, click the bookmarketlet and then a label of your choosing, all labels on the targets page are clickable entities which can create a persistant popover.
And with that, thanks for reading.